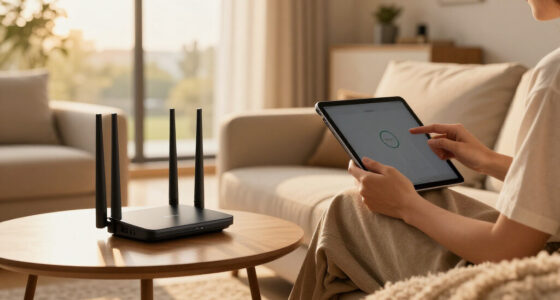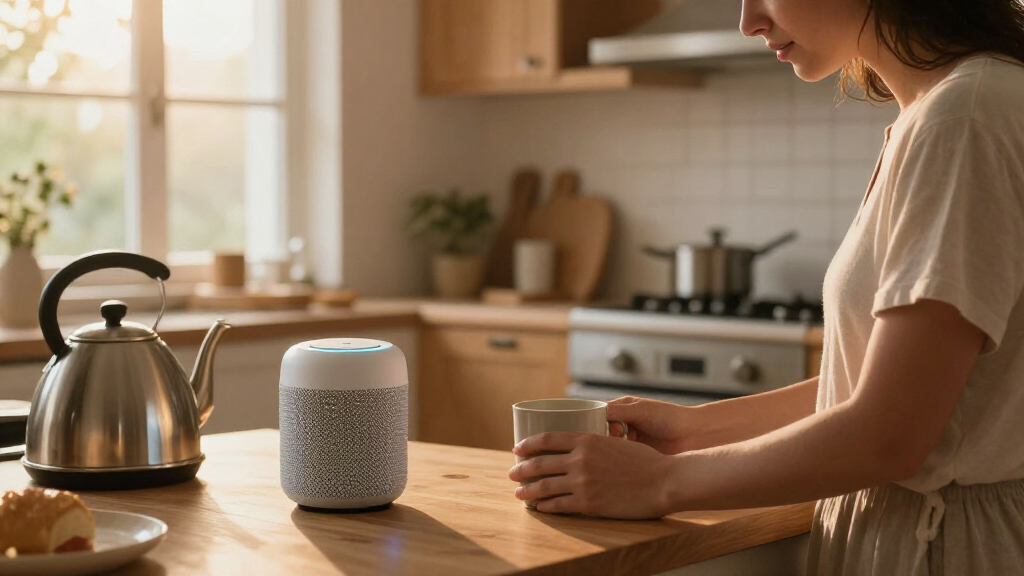

Set up a smart home voice assistant to control compatible lights, plugs, thermostats, and other devices with spoken commands. This guide is for beginners who have a phone, a working Wi-Fi network, and at least one compatible smart device. You will connect the assistant, add a device, try a command, and review privacy settings in about 30-60 minutes.

Get the latest gadgets delivered free with Prime
- Fast, free delivery on millions of items
- Prime Video, Amazon Music and more included
- Member-only deals all year

Smart Home Starter Kit | Includes Echo Hub, Amazon Smart Plug and 4 Amazon Basics Smart Bulbs, Designed for Alexa+
- ✔ Display: 8-inch touchscreen, 1280 × 800
- ✔ Smart home support: Wi-Fi, Bluetooth LE Mesh, Zigbee, Thread, and Matter controller
- ✔ Included accessories: Amazon Smart Plug and four Amazon Basics smart bulbs

Third Reality Voice/Music Assistant Dev Edition – Preloaded with Home Assistant Voice Assistant and Music Assistant, Dual Digital…
- ✔ Platform: Linux
- ✔ Processor: Quad-core ARM A53
- ✔ Memory: 256 MB RAM

Gemini BRS-180 Bedside Bluetooth Speaker with Sleep Sounds, RGB Night Light, Clock, and AI Assistant Button
- ✔ Connectivity: Bluetooth
- ✔ Maximum output: 6 W
- ✔ Sleep sounds: 16 built-in sounds
Difficulty: Beginner | Time: 30-60 minutes
What You’ll Need
Tools & Materials:
- A smart speaker or display, or a phone with the assistant app
- A smartphone or tablet with the assistant app installed
- A reliable home Wi-Fi connection and its password
- At least one smart device marked as compatible with your assistant
- Power outlets or batteries for the devices being set up
Knowledge:
- Basic use of a smartphone app
- How to connect a phone to Wi-Fi
- The name and password for your home Wi-Fi network
Check the device packaging or manufacturer’s app listing for compatibility with your assistant. Some devices require a 2.4 GHz Wi-Fi network, a separate hub, or a manufacturer account. Keep product model numbers and account login details nearby. Use a unique password for each account, and do not share your Wi-Fi password in a voice command.
Smart Home Starter Kit | Includes Echo Hub, Amazon Smart Plug and 4 Amazon Basics Smart Bulbs, Designed for Alexa+
For households building an Alexa setup from scratch, this bundle gives us the most complete path from voice requests to visible smart home control. The Echo Hub’s 8-inch touchscreen puts lights and connected devices on a wall or counter, and the package includes a smart plug plus four dimmable, color-changing bulbs. That makes the kit more immediately useful than the Third Reality satellite, which is a voice and audio endpoint for an existing Home Assistant installation rather than a full starter system.Its broad device support is the main reason it ranks first: the Hub can act as a controller for compatible Zigbee, Thread, and Matter devices, alongside Wi-Fi and Bluetooth LE Mesh products. But compatibility does not make every included accessory universal. The bundled plug and bulbs are Alexa-only and 2.4 GHz Wi-Fi, and setup requires internet access. We should choose this kit when guided Alexa control and an at-a-glance interface matter more than ecosystem neutrality. Skip it if we want Home Assistant, Google Assistant, or Apple Home to remain the center of the home.
Pros:
- Includes a touchscreen hub, smart plug, and four color-changing bulbs.
- Echo Hub supports compatible Zigbee, Thread, and Matter devices as a controller.
- Touch controls and Alexa voice requests offer two ways to manage devices.
- Wall-mount hardware and accessibility features are included.
Cons:
- Included plug and bulbs work only with Alexa and use 2.4 GHz Wi-Fi.
- Hub setup requires an internet connection.
- Wall mounting or a separately purchased stand is needed for placement.
Best for: Alexa users who want a guided, visible control point and basic lights and plug included.
Not ideal for: Households committed to another assistant or looking for a portable, offline-first voice endpoint.
Bottom line: We’d choose this bundle for the easiest Alexa-centered start, provided its ecosystem limits fit our home.
“We’d choose this bundle for the easiest Alexa-centered start, provided its ecosystem limits fit our home.”
Third Reality Voice/Music Assistant Dev Edition – Preloaded with Home Assistant Voice Assistant and Music Assistant, Dual Digital…
When Home Assistant already runs the smart home, this compact device fills a different role from the Echo Hub: it acts as a voice satellite and playback endpoint, sending captured audio to the Home Assistant voice pipeline and playing returned speech or music through its built-in speaker. Preloaded Home Assistant Voice Assistant and Music Assistant software reduces initial setup work, while dual digital microphones support wake-word or button-activated capture. Its open-source, Linux-based design is a stronger match for tinkerers than the Alexa bundle’s guided, consumer-first approach.The small footprint and onboard 3 W speaker make it practical as an extra room endpoint, but the modest hardware and 2.4 GHz Wi-Fi-only connection set expectations. It is not presented as a standalone smart home hub: we need a Home Assistant host to process the voice pipeline, and the device is oriented toward people comfortable with firmware flashing, logs, and debugging. Compared with Gemini, it provides a more direct smart home voice role; compared with Echo Hub, it offers less out-of-the-box control and a narrower setup path. Choose it for an existing local-first system, not as the first device in a smart home.
Pros:
- Preloaded with Home Assistant Voice Assistant and Music Assistant.
- Dual microphones support wake-word or button-activated voice capture.
- Built-in speaker handles TTS, music playback, and system audio.
- Linux-based design offers access to logs and firmware development.
Cons:
- Requires a Home Assistant host for voice-pipeline processing.
- Wi-Fi is limited to 2.4 GHz.
- Small 3 W speaker and limited onboard memory are suited to endpoint tasks, not broad standalone functions.
Best for: Home Assistant users who want a compact voice and audio endpoint and value open-source tinkering.
Not ideal for: Beginners seeking a standalone assistant, a display, or broad plug-and-play ecosystem support.
Bottom line: We’d add this as a flexible room endpoint to a Home Assistant system, rather than buy it as a complete smart home starter.
“We’d add this as a flexible room endpoint to a Home Assistant system, rather than buy it as a complete smart home starter.”
Gemini BRS-180 Bedside Bluetooth Speaker with Sleep Sounds, RGB Night Light, Clock, and AI Assistant Button
The Gemini BRS-180 earns its place for a specific room and routine: beside the bed, where a clock, adjustable RGB night light, Bluetooth speaker, and sleep sounds can share one small footprint. Its 16 built-in sounds work without a phone, app, or subscription, and its clock can dim or turn off. That gives it more bedside utility than the Third Reality endpoint, whose supplied description centers on Home Assistant voice and music workflows rather than sleep features.For smart home control, though, we need to be clear about the limitation: the AI assistant button activates an assistant on a paired device. The BRS-180 is not described as a standalone voice assistant or smart home hub, and its Bluetooth connection does not replace the Echo Hub’s device-control ecosystem or Third Reality’s Home Assistant integration. Up to six hours of battery playback can help with short-term portability, but it is not water resistant and needs charging for longer use. Choose it when bedside audio and ambient features come first and assistant access is a convenience. Skip it if voice commands need to control lights, locks, or routines directly from the speaker.
Pros:
- Combines Bluetooth audio, 16 sleep sounds, a clock, and RGB light modes.
- Built-in sleep sounds do not require a phone or subscription.
- Clock brightness is adjustable and the display can be turned off.
- Runs on USB-C power or its rechargeable battery.
Cons:
- Voice assistant access depends on a paired device.
- Battery playback lasts up to six hours.
- Not water resistant.
Best for: People who want bedside sleep sounds, a clock, and light with a button for their paired device’s assistant.
Not ideal for: Anyone seeking an independent voice assistant, smart home hub, or water-resistant speaker.
Bottom line: We’d pick the BRS-180 for bedside comfort, but not as our home’s primary voice-control device.
“We’d pick the BRS-180 for bedside comfort, but not as our home’s primary voice-control device.”
As an Amazon Associate we earn from qualifying purchases.
Before You Start
Place the speaker or display in a room where you can hear its replies, away from sinks, showers, and outdoor exposure unless the product is rated for those locations. Keep it within range of your Wi-Fi router during setup. Review the assistant’s account, voice recording, and purchase settings before enabling features such as voice purchasing or personal results. If children or guests use the assistant, decide which controls and household information they should be able to access.
Step-by-Step Instructions
Step 1: Install the assistant app
Open your phone’s official app store, search for the app named by the assistant’s manufacturer, and install it. Open the app and sign in with the account you plan to use for the household. If you do not have an account, create one using an email address you can access. Grant only the permissions needed for setup, such as Bluetooth or local network access when prompted.
Tip:Use the official app store listing and check the publisher name to avoid installing an imitation app.
Check: The app opens to its home screen and shows that you are signed in.
Step 2: Connect the speaker or display
Plug in the assistant device and wait for its startup prompt or setup indicator. In the app, choose the option to add or set up a device, then select the correct model or device type. Follow the prompts to pair the phone and assistant, select your home Wi-Fi network, and enter its password in the app. Assign the assistant a room, such as “Kitchen” or “Bedroom,” so you can identify it later.
Tip:Keep your phone close to the assistant during pairing. If the device does not appear, confirm that Bluetooth and any requested local network permission are enabled on the phone.
Check: The app lists the assistant as online, and the device completes setup without showing a Wi-Fi error.
Step 3: Add a compatible smart device
Plug in or power on the smart light, plug, thermostat, or other device, following its own setup instructions. In the assistant app, choose the option to add a device. Select its brand or device category, then follow the prompts. If the device needs its manufacturer’s app or account, install that app, sign in, and link the account from the assistant app’s smart home or services settings. Give the device a short, distinct name such as “Desk lamp” or “Hallway light.”
Tip:Names that describe both the device and its location are easier for the assistant to recognize. Avoid naming two nearby devices “Lamp.”
Check: The device appears in the assistant app under the correct room and shows an available or connected status.
Step 4: Test a basic voice command
Stand within the assistant’s listening range and use its wake word followed by one simple command, such as “Turn on the desk lamp.” Wait for the reply and check the device itself. Try a second command to switch it off. If you use a display or phone assistant, confirm that its microphone is enabled and that the device is not muted.
Tip:Use the exact device name you assigned. For a thermostat or appliance, start with a simple, low-impact command and check the result before trying more advanced controls.
Check: The assistant recognizes the intended device, replies or shows that it is acting, and the device changes to the requested state.
Step 5: Create a simple routine
Open the assistant app’s routines or automations section and choose to create a routine. Add a clear name, such as “Good night.” Select a trigger, such as a voice phrase or scheduled time, and add one or two actions, such as turning off a light. Save the routine, then test it while you can observe the device. Add more actions only after the first routine works as expected.
Tip:Check schedule, time zone, and days of the week before saving a timed routine. Avoid actions that could create a safety issue, such as starting an unattended heating appliance.
Check: The routine is saved in the app and the chosen action occurs when you use its trigger.
Step 6: Review privacy and household access
Open the assistant’s privacy or account settings. Review options for voice history, recording deletion, microphone mute, personalized results, and data sharing. Set a voice history retention period or deletion method that suits your household. Check purchase and calling permissions, and disable features you do not want. If other people need access, invite them using the app’s household or home sharing controls rather than sharing your account password.
Tip:Learn where the physical microphone mute control is and what indicator shows that listening is disabled.
Check: You can find the microphone mute control and identify the app settings for recording history and household access.
Common Mistakes to Avoid
- Turning on voice purchases or broad sharing without reviewing who can use them. — Check purchase confirmation, household access, and account permissions during setup; enable only features you intend to use.
Troubleshooting
Problem: The assistant cannot connect to Wi-Fi.
Solution: Confirm that the password is correct and that the phone and assistant are near the router. Restart the assistant and try setup again. Check the product’s requirements: some devices only connect to 2.4 GHz Wi-Fi or cannot use certain guest networks.
Problem: The smart device does not appear in the assistant app.
Solution: Make sure the device is powered on and already set up in its manufacturer’s app if required. Check that the manufacturer account is linked to the correct assistant account, then run the app’s device discovery or refresh option.
Problem: The assistant hears the command but controls the wrong device.
Solution: Rename devices with distinct labels that include their rooms, such as “Office lamp” and “Bedroom lamp.” Update the room assignment in the app and repeat the command using the full device name.
Problem: A routine saves but does not run at the expected time.
Solution: Check its enabled status, selected days, time zone, and trigger in the app. Test the routine manually if that option is available, then check that each device is online and that the routine has permission to control it.
What Success Looks Like
Your assistant appears online in its app, and at least one compatible device appears under the intended room. A spoken command changes that device to the requested state, and a saved routine performs its selected action when triggered. You can locate the microphone mute control and privacy settings, and you know which account or app manages each connected device.
Next Steps
Add devices one at a time and test each one before including it in a routine. Review device names and room assignments when you move or replace equipment. Check the assistant and device apps for software updates and revisit privacy settings when household members or needs change. If a device remains offline after restarting it and checking its network, consult the device manufacturer’s setup or support instructions.
Frequently Asked Questions
Do I need a smart speaker to use a voice assistant?
No. Many assistants can listen and respond through a phone app, though a dedicated speaker or display can make hands-free use easier. Check the app’s microphone permissions and whether the phone must be unlocked or open to listen.
Can one assistant control devices from different brands?
Often, yes, when each product supports the same assistant or can be linked through its manufacturer’s account. Confirm compatibility for each model, since features can vary by brand and device.
Why does a smart device need a hub?
Some devices use a separate hub to connect to your home network or to communicate with other products. The product specifications will say whether a hub is required; add and set up that hub before pairing dependent devices.
Can I stop the assistant from recording voice requests?
Settings differ by assistant, but many let you mute the microphone, review or delete voice history, or set automatic deletion. Check the assistant’s privacy settings and learn how its mute indicator works.
What should I do if a device stops responding after setup?
Check its power, Wi-Fi connection, and online status in the assistant and manufacturer apps. Restart the device and router if needed, then run device discovery again. If it still fails, use the manufacturer’s support instructions to reconnect it.