
Your camera placement influences what elements you capture by affecting perspective, depth, and composition. Positioning it higher or lower changes how scenes appear and what details become prominent, while choosing the right angle can emphasize your subject or create mood. Moving closer or farther impacts background visibility and scene relationship. Proper placement helps tell your story more clearly and engagingly. Keep exploring these techniques to master how your camera’s position shapes your photos.
Key Takeaways
- Camera placement determines the perspective and depth, shaping how subjects and backgrounds are portrayed.
- Positioning affects lighting, shadows, and contrast, influencing the mood and clarity of the shot.
- The camera’s height and angle alter the scene’s scale, emphasizing or minimizing particular elements.
- Placement controls background inclusion and focus, guiding viewer attention and scene composition.
- Distance and lens choice impact scene coverage, distortion, and subject prominence in the final capture.

Liphisy 64” Tripod for Cell Phone & Camera, Phone Tripod with Remote and Phone Holder, Sturdy & Stable Height Adjustable Multi-Angle Shot Selfie Stick Tripod for Video Recording
【Sturdy and Stable】: Made of premium aluminum alloy and stainless steel, Liphisy phone tripod with remote keeps your…
As an affiliate, we earn on qualifying purchases.
As an affiliate, we earn on qualifying purchases.
Mastering Camera Placement to Improve Your Photos
To capture compelling photos, mastering camera placement is essential. Proper positioning helps you utilize lighting techniques effectively, highlighting your subject and creating mood. Pay attention to how light falls on your scene; adjust your angle to avoid harsh shadows or glare. Additionally, consider subject movement—if your subject is dynamic, place the camera to follow their path or anticipate motion. This strategic placement can also be informed by understanding visual composition, which guides how elements are arranged within your frame. Your camera placement influences how motion appears and how well lighting complements your shot. By experimenting with angles and distances, you can control the visual flow and emotional impact, ultimately elevating your photography game. Recognizing the importance of contrast ratio can also help you achieve better image quality by controlling the depth of blacks and whites in your photos. Exploring natural lighting techniques can further enhance the authenticity and mood of your images. Developing a good sense of camera angles can help you tell stories more effectively through your photos. Understanding AI roles like AI software engineer and cybersecurity specialist can also enhance your technical skills and improve your ability to analyze and adapt to various scenarios.

Amazon Basics 50-inch Lightweight Portable Camera Tripod Stand with Quick-Release Plate, Adjustable Height, Aluminum, for Travel Photography, Champagne
Camera mount tripod stand with zippered storage bag
As an affiliate, we earn on qualifying purchases.
As an affiliate, we earn on qualifying purchases.
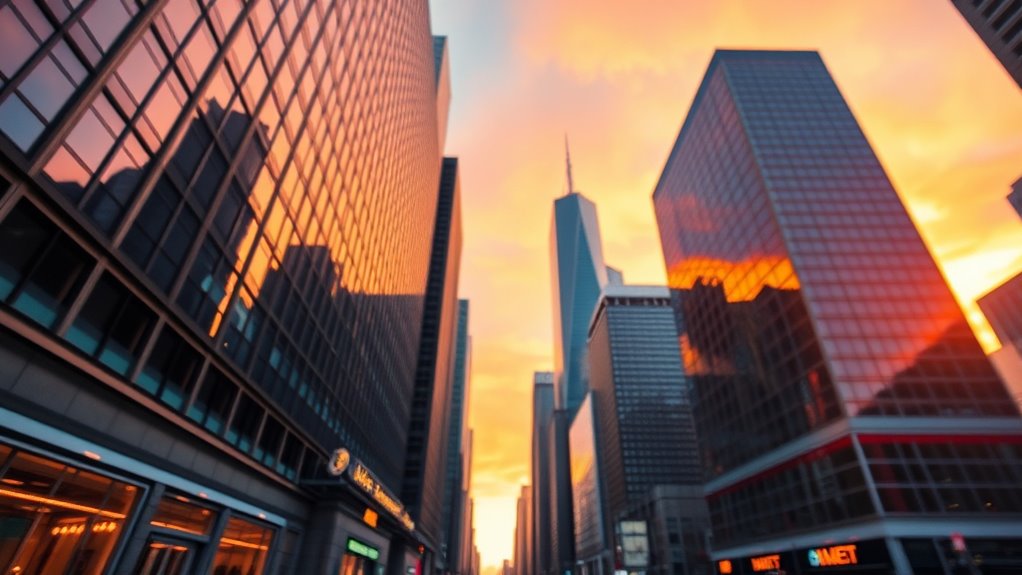
How Camera Height Changes Your Perspective and Depth
Your camera height directly influences how viewers see your subject, from an eye-level shot that feels natural to a low-angle view that adds power. When you change the height, you also affect the sense of depth and scale in your photos. Experimenting with different perspectives helps you tell stronger visual stories. For example, understanding camera angles can help you choose the best position to showcase your subject’s presence and environment effectively. Additionally, varying your camera height can enhance storytelling by emphasizing certain emotions or themes within your composition. Recognizing how camera placement impacts viewer perception allows you to craft more compelling images that communicate your intended message effectively. Moreover, experimenting with camera height can reveal new creative possibilities and help you develop a distinctive photographic style.
Eye-Level Impact
Ever wonder how the height of your camera influences the way your photos turn out? When you shoot from eye level, you create an eye level perspective that feels natural and relatable. This position helps foster viewer engagement by making scenes appear familiar and accessible. It’s the stance most people take when observing their surroundings, so your photos resonate more authentically. Additionally, understanding how proper maintenance can prevent costly repairs emphasizes the importance of being attentive to your equipment’s condition, ensuring your camera remains reliable for capturing great shots. Regularly checking your camera’s lens alignment and keeping it clean can also significantly impact image quality, helping you achieve sharp, clear photographs every time. Proper camera setup and adjustments are essential for consistent results and optimal storytelling. Being mindful of camera stability can further improve image sharpness, especially in low-light conditions.
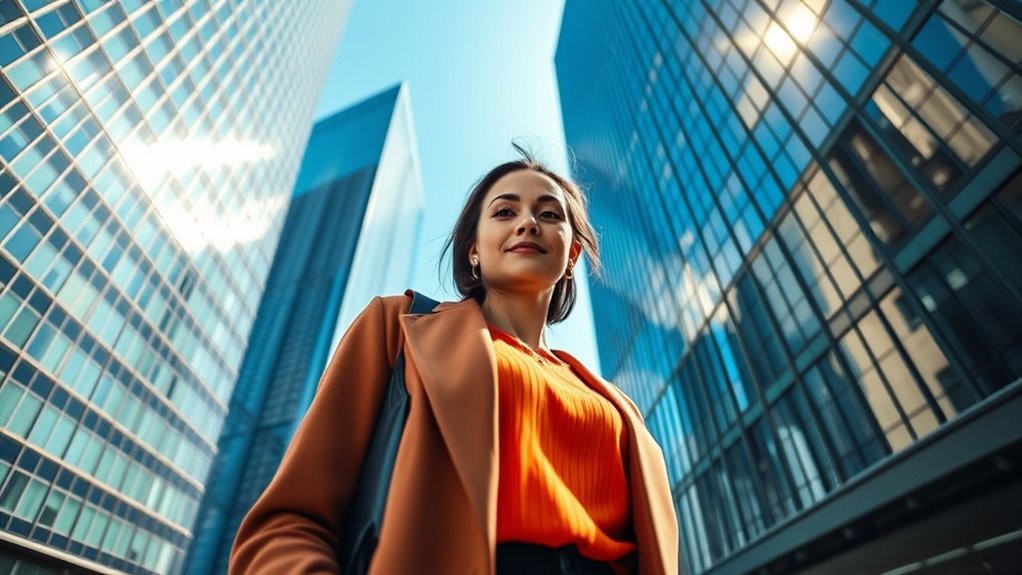
Low-Angle Dynamics
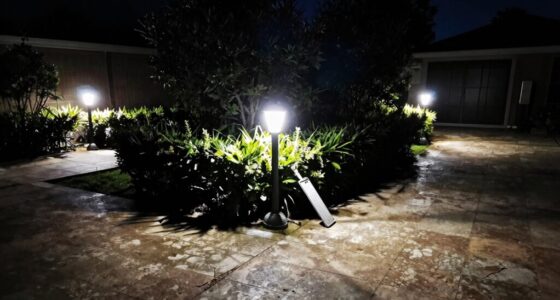
When you position your camera lower than eye level, it dramatically alters the perspective and sense of depth in your photos. Low-angle camera angles make subjects appear larger and more imposing, adding a sense of power or drama. This technique can also help you better capture local scenery and architectural details unique to Italian cities and landscapes. This shift influences your composition balance, emphasizing foreground elements and creating a dynamic visual flow. By changing the camera height, you guide viewers’ eyes through the scene differently, highlighting specific details or characters. Low angles also exaggerate perspectives, making backgrounds seem more expansive and giving images a sense of scale. Mastering this technique allows you to craft more compelling images that evoke emotion and storytelling, all while playing with depth and perspective to enhance the overall impact of your shot. Additionally, understanding camera placement can help optimize your shots for smart home security and surveillance systems, ensuring you capture the most relevant details. Proper positioning of your camera can also improve security footage quality, making it easier to identify important features or individuals. Knowing how camera height impacts your footage can be particularly useful when designing accessible security systems for diverse home environments. Recognizing how angle variations influence viewer perception can further refine your approach to both photography and security camera setup.

Wide-Angle Photography: Capturing Landscape, Portrait, Street, and Architectural Photographs with Wide-Angle Lenses (Including Tilt-Shift Lenses)
As an affiliate, we earn on qualifying purchases.
As an affiliate, we earn on qualifying purchases.
Using Angles to Highlight Your Subject
Choosing the right angle can dramatically emphasize your subject and create a more engaging photo. By experimenting with different perspectives, you can highlight features, evoke emotion, or convey a story. Use lighting techniques to draw attention or create contrast, making your subject stand out. For instance, shooting from a slightly high angle can isolate your subject, reducing background distractions. Alternatively, a low angle can give power and prominence. Remember, angles influence how viewers interpret your shot and can emphasize your subject’s importance. To maximize impact, consider how camera placement impacts the viewer’s perception and the overall composition. Proper camera positioning also allows you to control the depth of field, further emphasizing your subject. Understanding how visual perception works can help you choose the most effective angles for your shots. Additionally, knowing how thermal behavior affects lighting and reflections can assist in selecting angles that enhance texture and detail. Being aware of reflection and glare can help you avoid unwanted highlights that may distract from your subject. Choosing the right angle ensures your subject captures the viewer’s focus and enhances the overall storytelling.

NEEWER 22 Inch/60 Centimeter Light Reflector Light Diffuser 5 in 1 Collapsible Multi Disc with Bag – Translucent, Silver, Gold, White, and Black for Studio Photography Lighting and Outdoor Lighting
Use it stand alone or simply zip on whichever surfaces you wish to use to changes the lighting…
As an affiliate, we earn on qualifying purchases.
As an affiliate, we earn on qualifying purchases.
Framing Techniques to Make Your Shots Stand Out
Have you considered how framing can transform an ordinary shot into something mesmerizing? Your framing choices guide the viewer’s eye and set the mood. Adjust for lighting conditions to create contrast or soften shadows, emphasizing your subject’s details. Use lens selection strategically; a wide-angle lens can exaggerate proportions for dynamic scenes, while a telephoto lens compresses space for intimacy. Play with the rule of thirds to position your subject off-center, adding visual interest. Incorporate leading lines or natural frames within your shot to draw attention. Keep the background uncluttered to avoid distraction, ensuring your framing highlights the main elements. Thoughtful framing elevates your composition, making your shots more compelling and memorable. Additionally, understanding how camera placement influences your perspective can significantly impact the overall storytelling of your images.
Controlling Foreground and Background With Camera Position
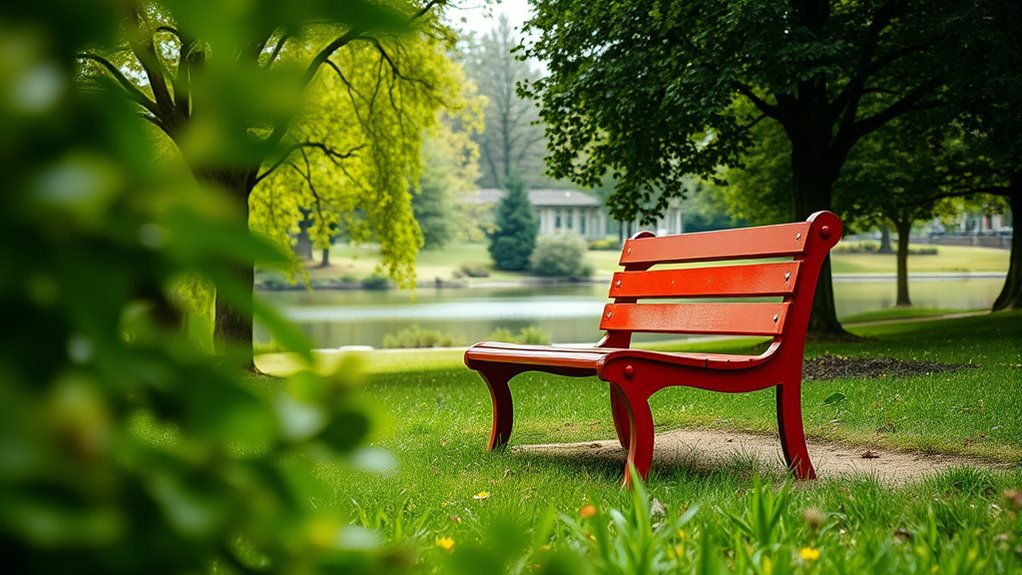
Your camera position greatly influences how foreground and background elements relate to each other, creating a sense of perspective and depth. By adjusting your angle, you can emphasize the subject or reveal more background details to tell a story. Focusing on what’s in front and behind helps you control the scene’s context and visual impact.
Perspective and Depth
Adjusting your camera’s position allows you to control the relationship between foreground and background elements, adding depth and dimension to your photos. By changing your angle, you influence how lens distortion impacts the scene, making objects appear more exaggerated or subtle. This also affects how colors are perceived, especially after color grading, enhancing the mood or focus of your shot. Experimenting with perspective can create striking contrasts or seamless progressions between layers.
- Use low angles to emphasize foreground objects and create a sense of grandeur
- Move closer or farther to manipulate lens distortion for creative effects
- Adjust your height to influence background prominence and overall depth
Focus on Foreground
By positioning your camera thoughtfully, you can control how foreground and background elements relate and draw attention within your shot. Focusing on foreground emphasis helps guide the viewer’s eye to the most important subject first. A close-up or low-angle shot accentuates foreground details, creating a sense of immediacy. This technique also enhances depth, making the scene feel more three-dimensional. By placing key subjects or objects in the foreground, you add layers that lead the viewer into the image. Adjusting your camera’s position allows you to select which elements come forward and which recede, giving you greater control over the story you tell. Mastering foreground focus ultimately sharpens your composition, making your images more engaging and visually compelling.
Background Context Control
Controlling the relationship between foreground and background elements hinges on how you position your camera. Your camera’s angle and distance can emphasize or de-emphasize background details, shaping the overall story. To manage background context effectively:
- Use lighting techniques to highlight your subject while subtly fading the background, creating depth.
- Choose lenses with appropriate focal lengths; a wide-angle captures more background, while a telephoto isolates your subject.
- Adjust your camera height and tilt to control what background elements are visible or obscured, ensuring the background complements your focus.
These choices help you craft a scene that guides viewers’ attention precisely where you want it, balancing context with clarity.
Adjusting Distance and Focal Length for the Perfect Shot
Finding the right distance and focal length is essential to capturing your subject with clarity and impact. Adjusting your distance influences perspective, while focal length controls how much of the scene you capture. Longer lenses (telephoto) compress background, while shorter lenses (wide-angle) expand it, affecting lens distortion. Keep aperture settings in mind; a wider aperture creates a shallow depth of field, isolating your subject. Use the table below to understand how different focal lengths impact your shot:
| Distance | Focal Length | Effect on Image | Best Use Case |
|---|---|---|---|
| Close | Wide-angle | Exaggerates features | Landscape, environment |
| Moderate | Standard | Natural perspective | Portraits |
| Far | Telephoto | Compresses background | Wildlife, sports |
Adjust these factors to perfect your shot with precision.
Common Camera Placement Mistakes and How to Avoid Them
Poor camera placement can substantially undermine the quality of your photos, often resulting in awkward angles, distracting backgrounds, or unwanted shadows. Common mistakes include positioning the camera too low or high, which can cause lens distortion or perspective issues. Failing to guarantee camera stability can lead to blurry images, especially in low light. To avoid these pitfalls:
- Keep the camera at eye level to prevent distortion and maintain natural proportions
- Use a tripod or stabilize your camera to avoid shaky shots
- Be mindful of backgrounds to prevent distractions and unwanted elements
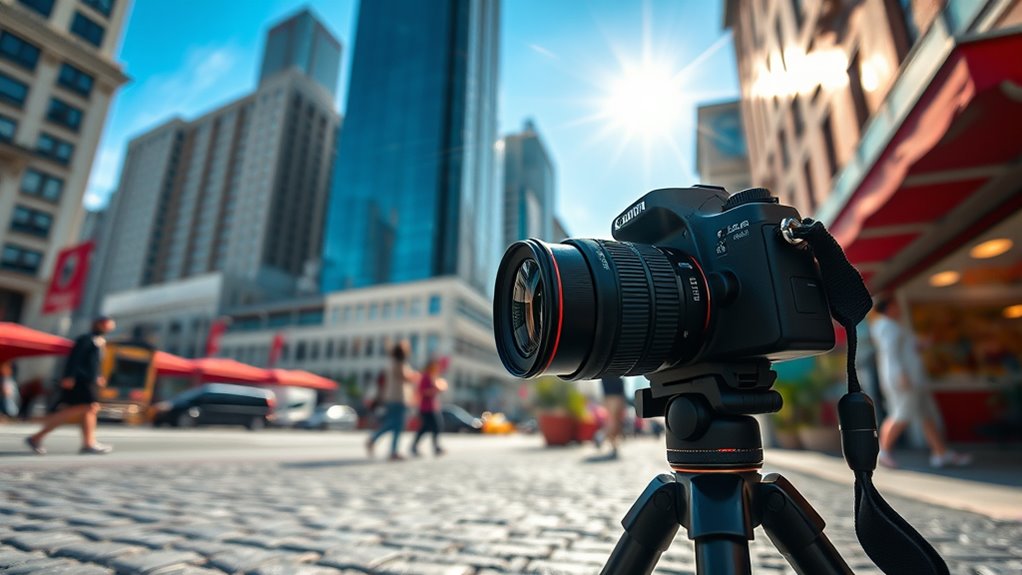
Tips for Experimenting With Different Camera Positions
Experimenting with different camera positions is one of the best ways to discover unique perspectives and enhance your photos. Try changing your angle, height, or distance to see how it affects the scene. Use lighting techniques like adjusting the direction or intensity of light to create mood and depth from different positions. Incorporate camera accessories such as tripods, gimbals, or remote shutters to stabilize shots and explore unconventional angles without hassle. Don’t be afraid to tilt or crouch; low and high angles often reveal details missed from eye level. Take multiple shots from varied positions, then compare results to identify what works best for your subject. This hands-on approach helps you learn what camera placement truly captures and inspires creative experimentation.
How to Choose the Best Camera Placement for Your Shooting Goals

Choosing the right camera placement begins with clearly defining your shooting goals. Once you know what you want to achieve, you can select the most suitable position by considering factors like lighting techniques and available camera accessories. For example, if you aim for soft, natural light, position your camera where the light hits evenly. If you want dramatic shadows, experiment with side angles. Use camera accessories like tripods or stabilizers to ensure steady shots at your chosen angle. Keep these tips in mind:
- Align your camera with your subject for clarity and focus
- Adjust placement to maximize natural or artificial lighting
- Use accessories to enhance stability and framing
Frequently Asked Questions
How Does Camera Placement Influence Storytelling in Photos?
You influence storytelling in photos by choosing camera placement carefully. It impacts perspective distortion, making subjects appear larger or smaller, and highlights specific details or emotions. By adjusting your angle, you can use lighting techniques to create mood or focus attention. Your placement guides viewers’ eyes and shapes their understanding of the scene, making your photos more compelling and meaningful. Proper positioning truly enhances the story you want to tell.
What Are the Best Camera Positions for Capturing Motion?
Did you know that 78% of dynamic shots are captured best with low camera height and wide focal length? To capture motion effectively, you should position your camera at or below the subject’s eye level, using a wide focal length to emphasize speed and movement. This approach creates a sense of immediacy and energy, making viewers feel like they’re right there in the action. Keep experimenting to find what works best!
How Does Camera Angle Affect the Viewer’s Emotional Response?
Your camera angle directly influences the viewer’s emotional response by shaping perception and mood. A high angle can make characters seem vulnerable, creating sympathy or tension, while a low angle might evoke power or dominance. Lighting also plays a role, enhancing the mood and guiding viewer perception. By choosing the right angle and lighting, you control the emotional tone, ensuring your audience feels what you intend.
Can Camera Placement Improve Composition in Tight Spaces?
Yes, camera placement can improve composition in tight spaces. You might think there’s no room, but clever framing techniques and perspective shifts make all the difference. By positioning your camera thoughtfully, you can emphasize key elements and create a balanced shot, even in confined areas. Experiment with angles and distances to find the best framing, transforming limited space into a compelling visual story.
What Equipment Can Assist With Optimal Camera Positioning?
You can use a sturdy tripod to guarantee stability, making it easier to position your camera precisely. A flexible tripod or monopod also helps in tight spaces, allowing quick adjustments. Lens selection is essential; choose a wide-angle lens for broader scenes or a macro lens for close-up shots. These tools help you achieve ideal camera positioning, giving you better control over composition and ensuring sharp, well-framed images.
Conclusion
Remember, your camera’s placement can make or break your shot—studies show that 60% of a photo’s impact depends on perspective and framing. By experimenting with angles, height, and distance, you can discover new creative possibilities and truly capture what matters most. Don’t be afraid to try different positions; each one brings a fresh story to life. Mastering these techniques will help you create more compelling, memorable images every time.